For Android
1. Login to MobileSHIELD App
| | |
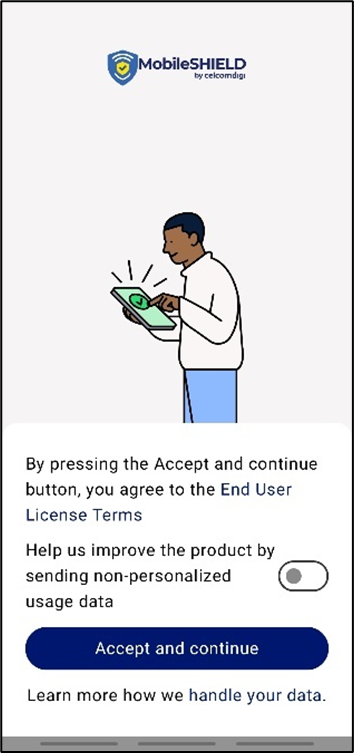 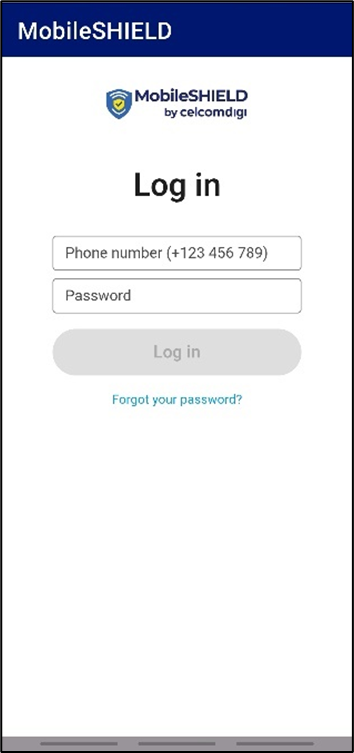 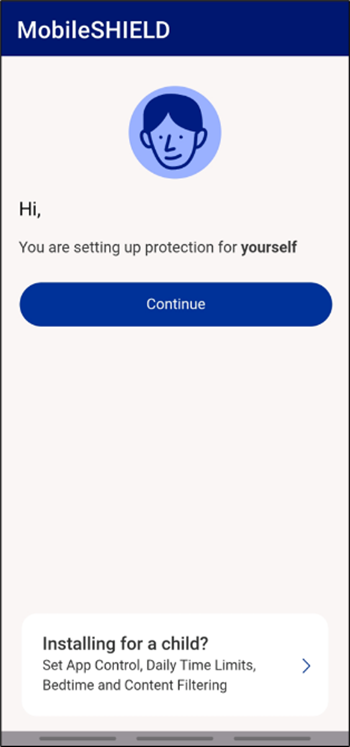 Steps: Review End User License Terms Tap ‘Accept and continue’ Input phone number (+601xxxxxxxx) Key in temporary password (refer to MobileSHIELD Welcome SMS) Tap ‘Continue’ to login
|
2. Security Protection
2.1 Device Protection
| | | | |
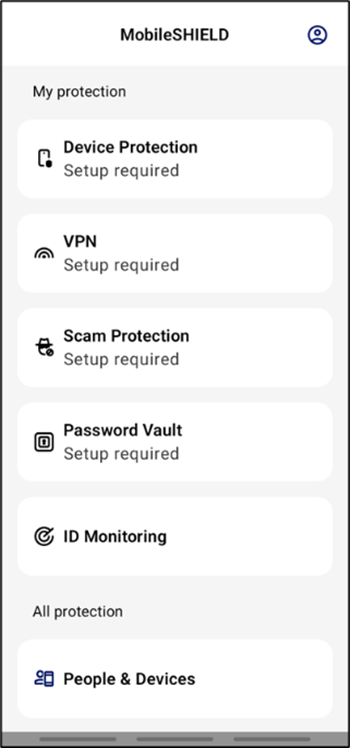     Step 1: Initiate Device Protection Select ‘Device Protection’ Tap ‘Get Started’
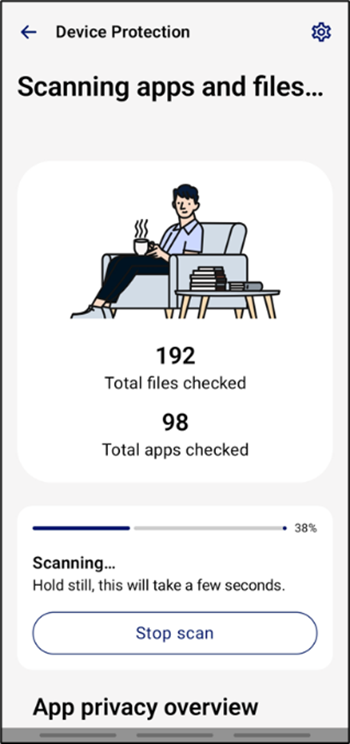
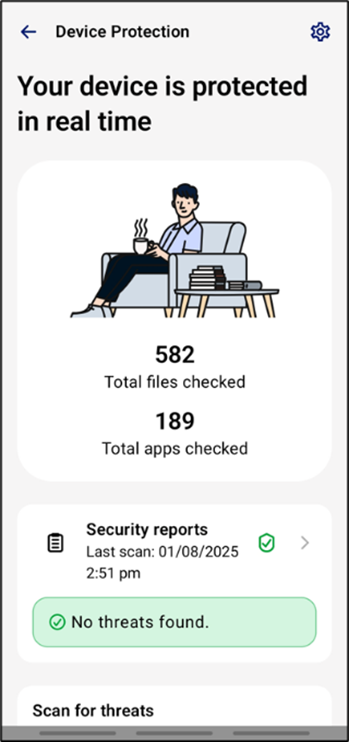
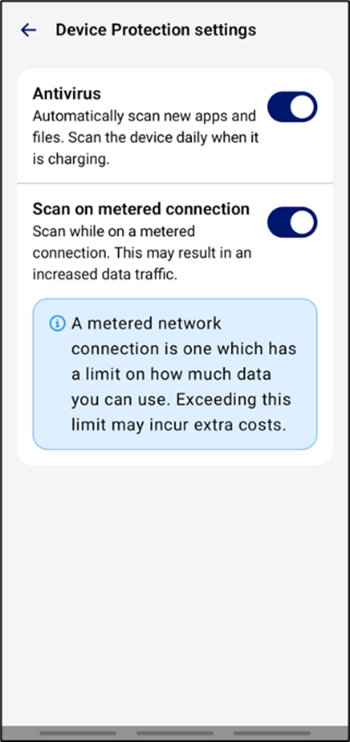
| Step 2: Enable Scanning Scanning of files and apps will begin automatically Wait for the scan to complete Tap the Settings icon in the top right corner Toggle to enable scan for device protection
|
3. Scam Protection
3.1 Chrome Protection (includes Banking & Shopping Protection)
| | |
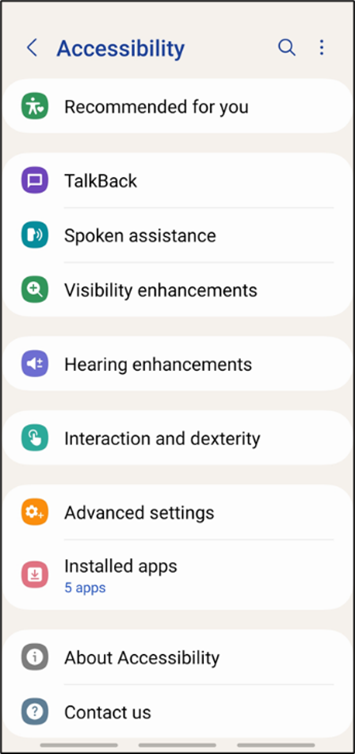
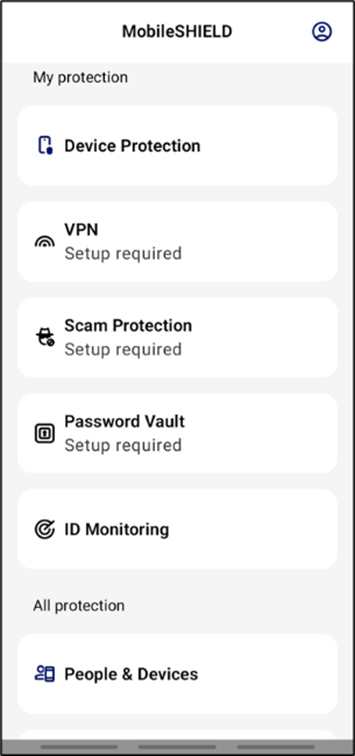   Step 1: Initiate Scam Protection and Chrome Protection Select ‘Scam Protection’, Tap ‘Get started’ Select ‘Chrome Protection’
|
| | | |
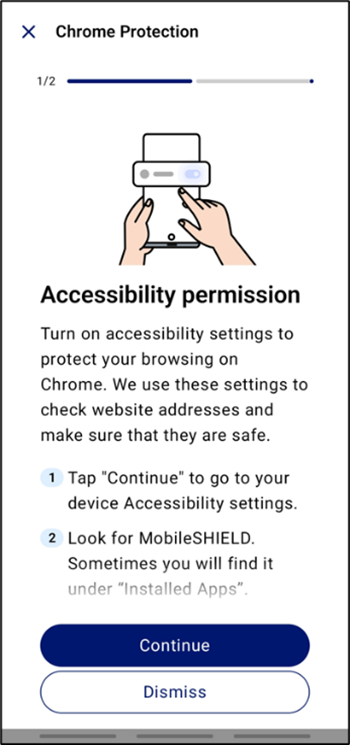
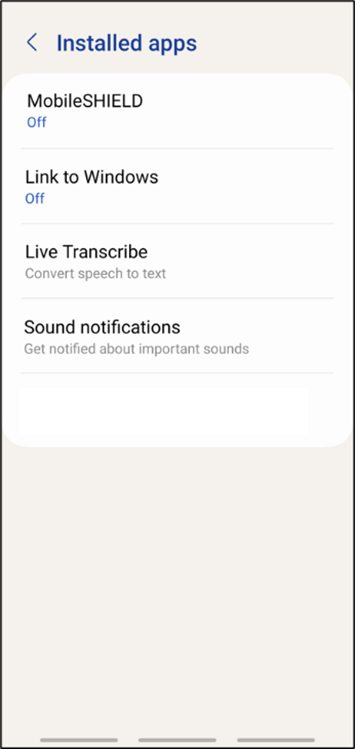
Step 2: Enable Chrome Protection Accessibility (1/2) Tap ‘Get started’ ‘Continue’ Tap on ‘Installed apps’ Select ‘MobileSHIELD’ and turn it on
|
| | |
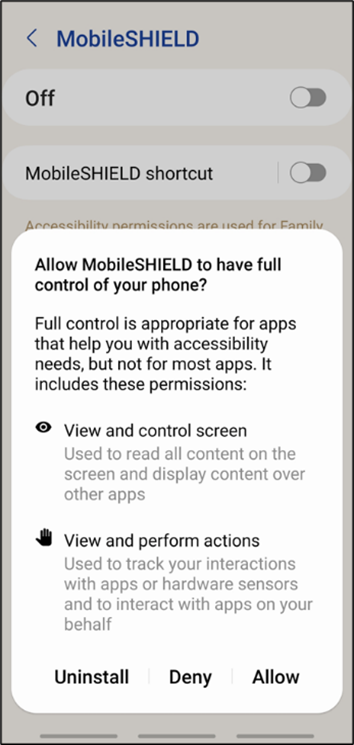
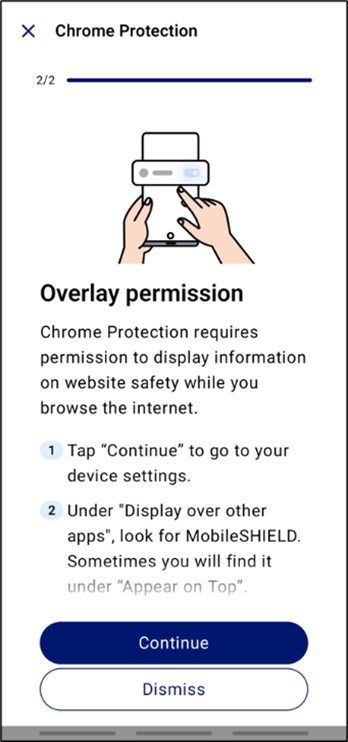
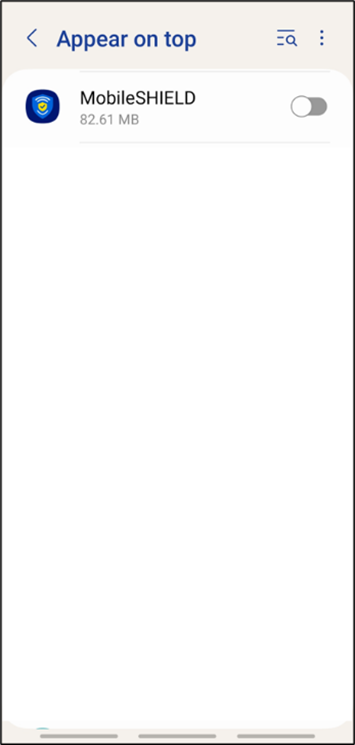
Step 2: Enable Chrome Protection Accessibility (2/2) Tap ‘Allow’ and ‘Continue’ Toggle on MobileSHIELD to allow it appear on top
|
| |
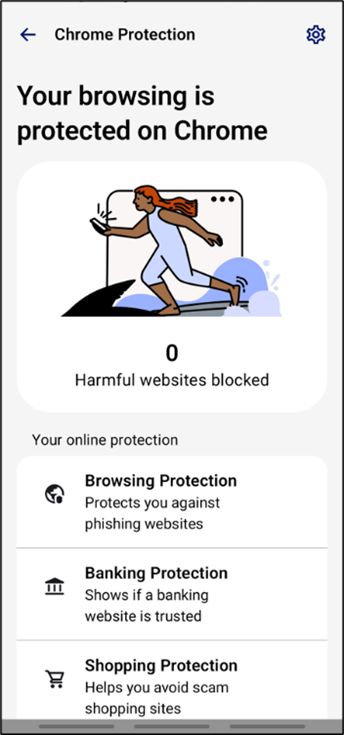
Step 3: Enable Chrome, Banking, Shopping Protection Tap on the ’Settings’ icon on top right corner Toggle on ‘Browsing, Banking, and Shopping Protection’ Your browsing is now protected on Chrome
|
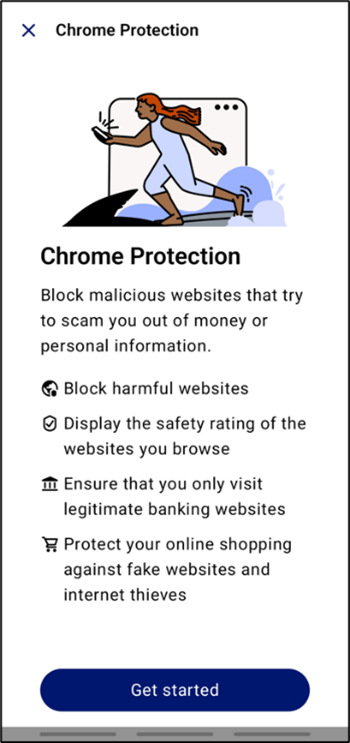
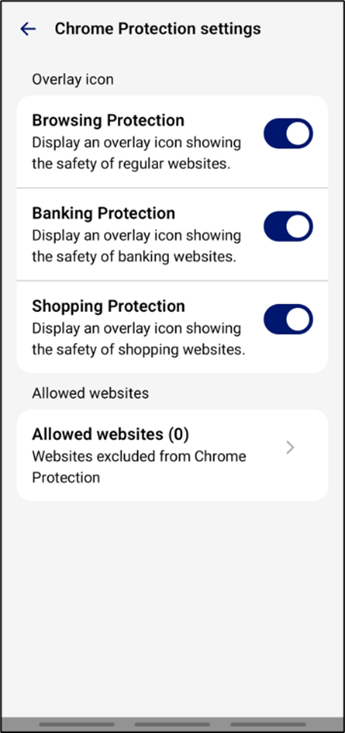

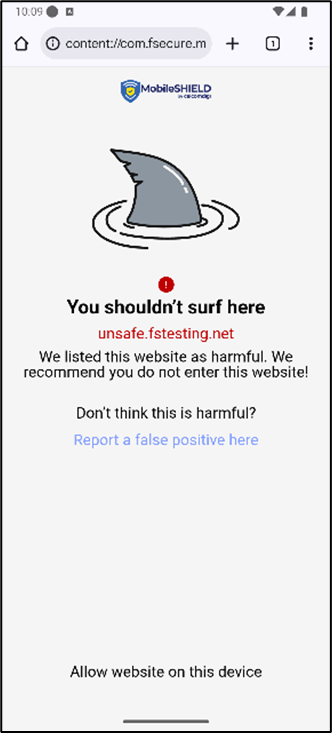
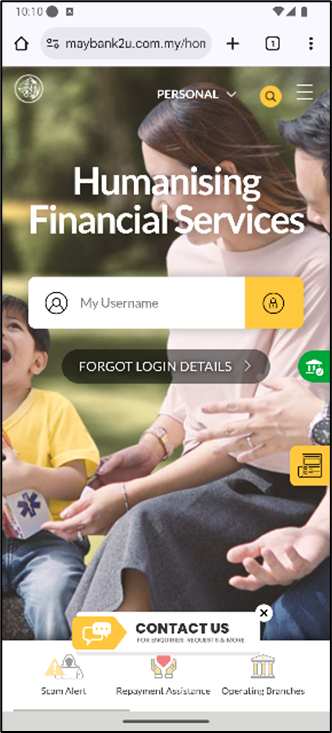
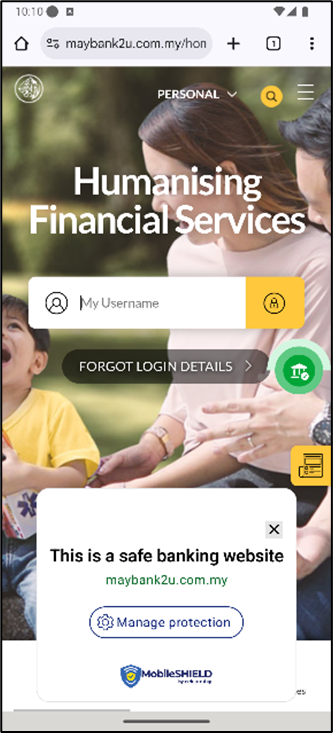
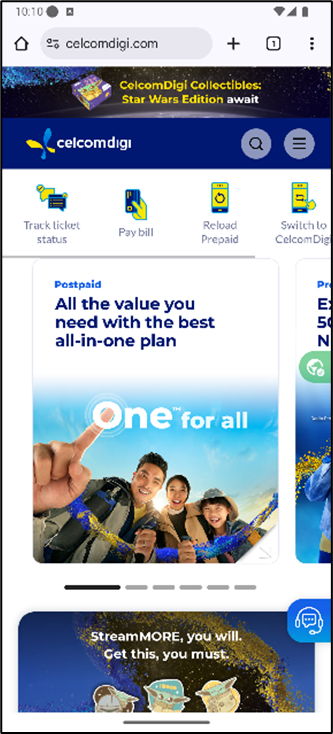
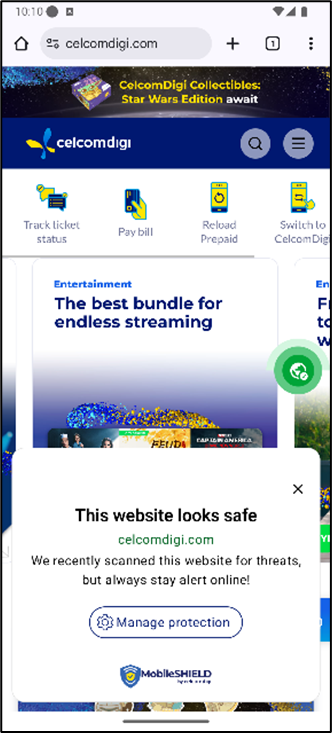
What Chrome Protection (including banking & shopping protection) does to protect you:
| | | | |
Blocks access to malicious sites
| Indicates safe banking sites | Indicates safe websites |
3.2 Wi-Fi Protection (Android only)
| | | | |
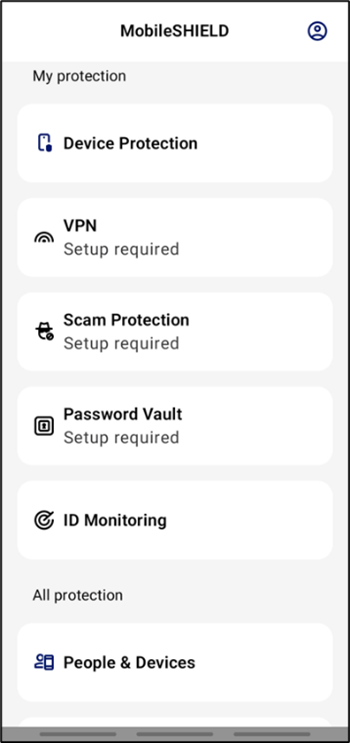
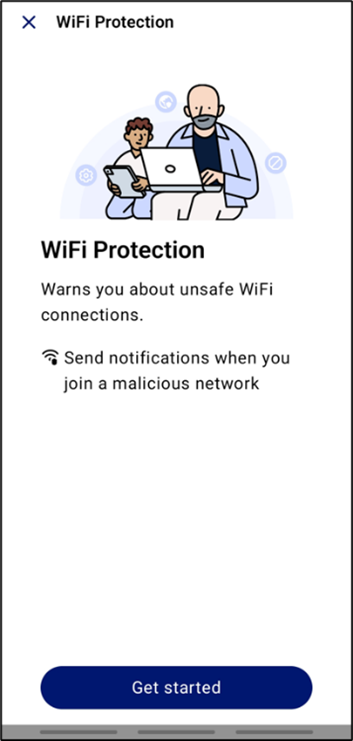
Step 1: Initiate WiFi Protection Tap on ‘Scam Protection’ Select ‘WiFi Protection’ “Get started’ to continue
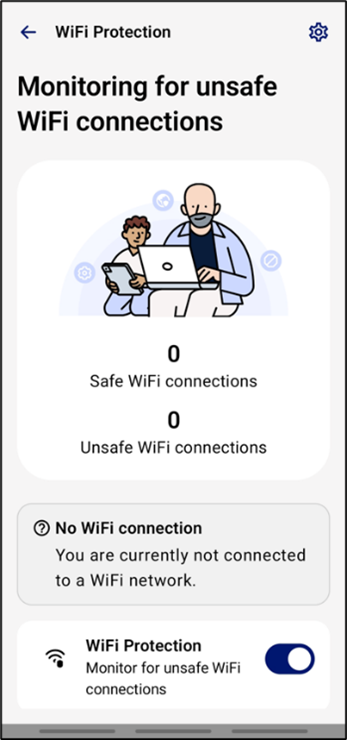
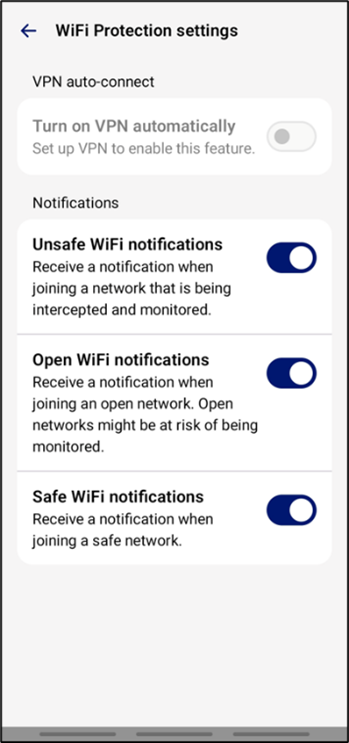
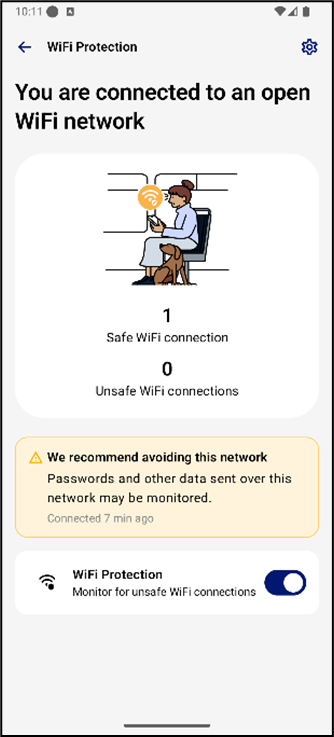
| Step 2: Enable WiFi Protection Toggle on WiFi Protection notifications Tap on the ‘Settings’ button on top right Toggle on Safe WiFi notifications You are now protected from unsafe WiFi connections
|

What WiFi Protection does to protect you:
| |
Detects risky WiFi connections and inform users |

3.3 SMS Protection
| | |
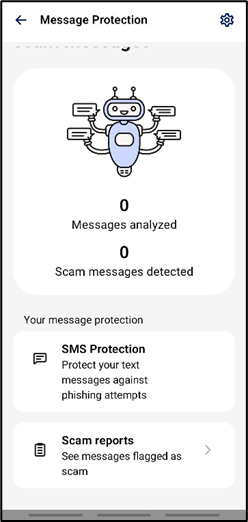
 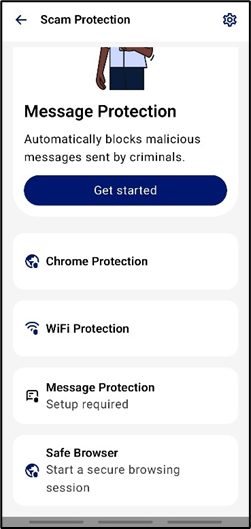  Step 1: Get started on SMS Protection Tap ‘Scam Protection’ Then ‘Message Protection’ and ‘Get started’
|
| | | |
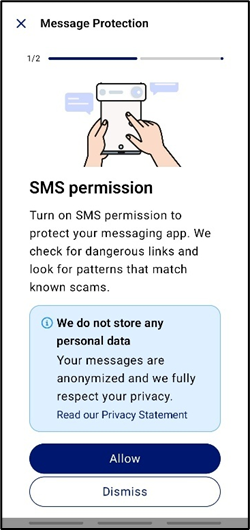
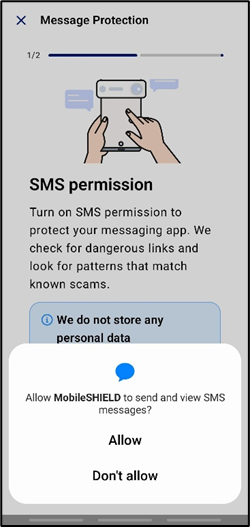
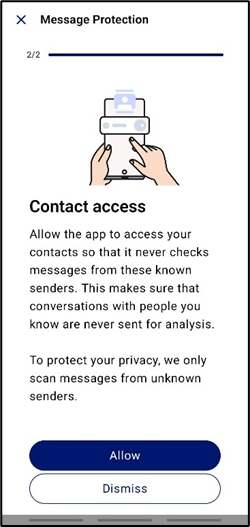
Step 2: Enable permission to Message Protection Tap ‘Allow’ to enable MobileSHIELD to check for dangerous links and patterns in SMS
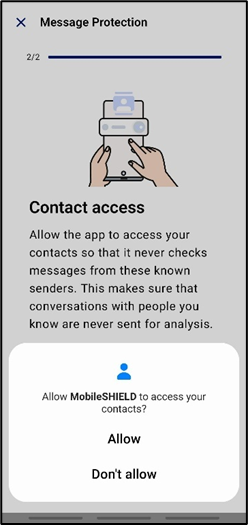
Tap ‘Allow’ to grant contact access, so MobileSHIELD can skip checking messages from known senders. This also ensures conversations with your contacts are never sent for analysis.
|
| |
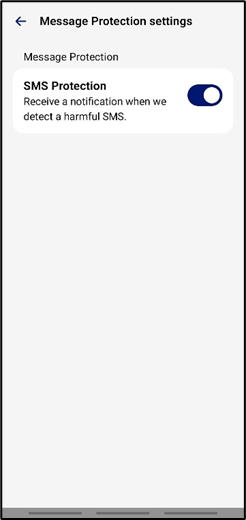
Step 3: Turn on Message Protection notification Tap Settings button in top-right corner of the Message Protection page.
Toggle Message Protection notifications on.
You will receive a notification whenever MobileSHIELD detects a harmful SMS, which will be flagged as a scam in the scam reports.
|
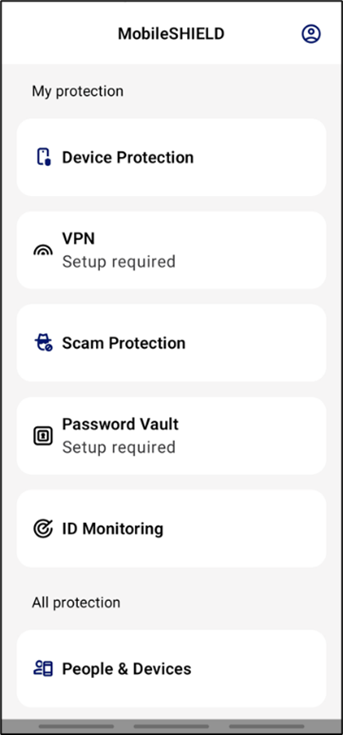
4. Privacy Protection
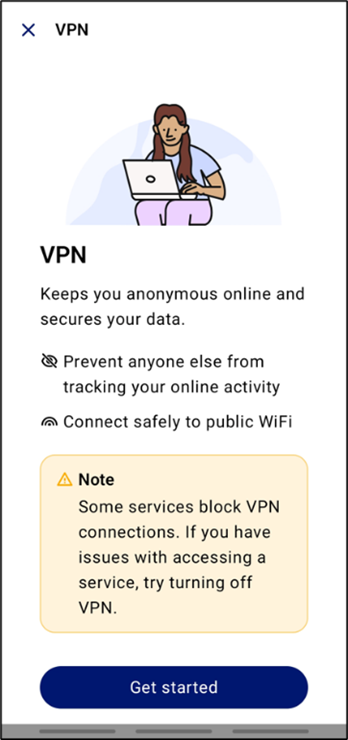
4.1 Privacy VPN
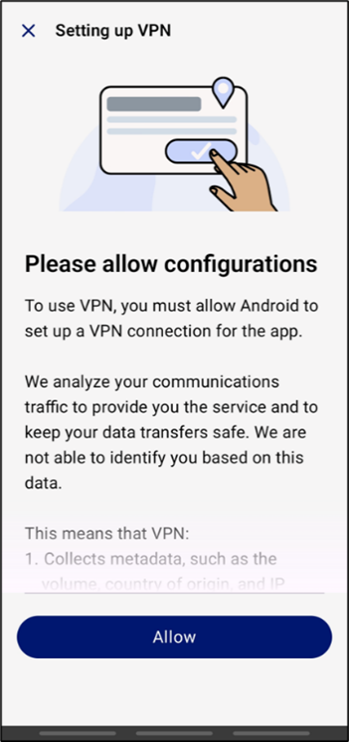
| | | |
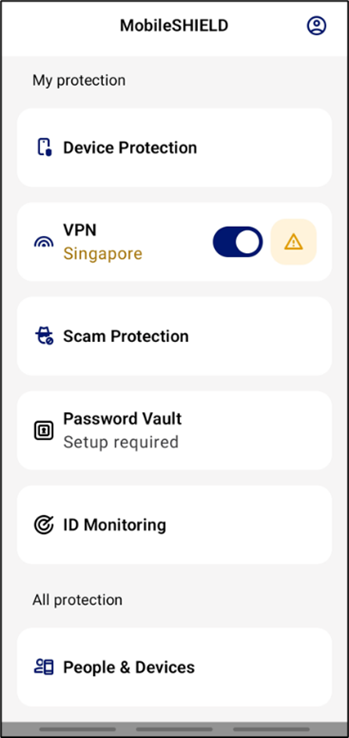
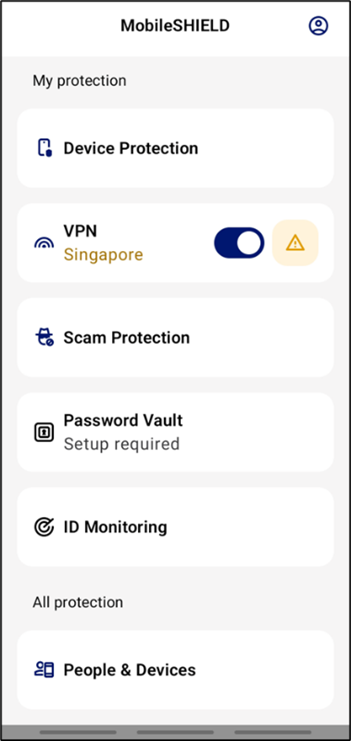
Step 1: Initiate Privacy VPN Go to ‘VPN’ Tap on ‘Get started’ ‘Allow’ and ‘OK’ to allow configurations
|
| | |
   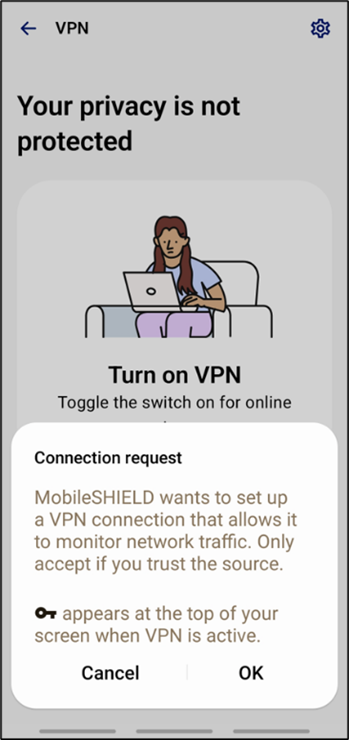 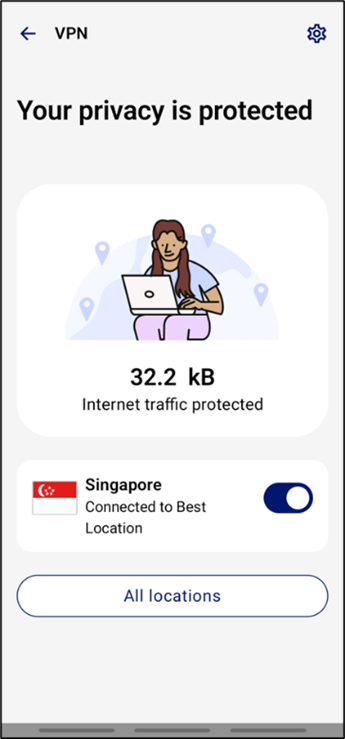 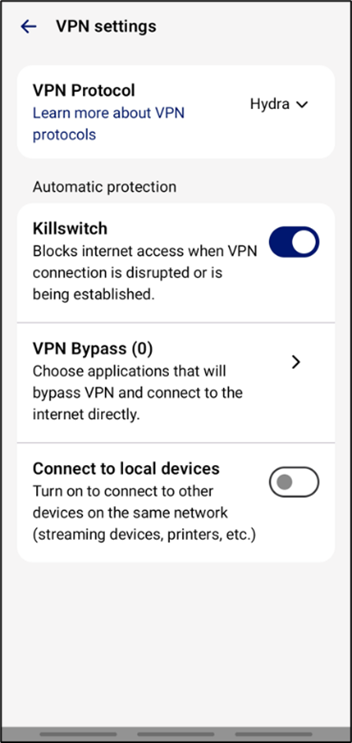  Step 2: Enable Privacy VPN Toggle on VPN connection Tap on the ‘Settings’ button on top right Toggle on killswitch for automatic protection You Internet traffic is now protected
|
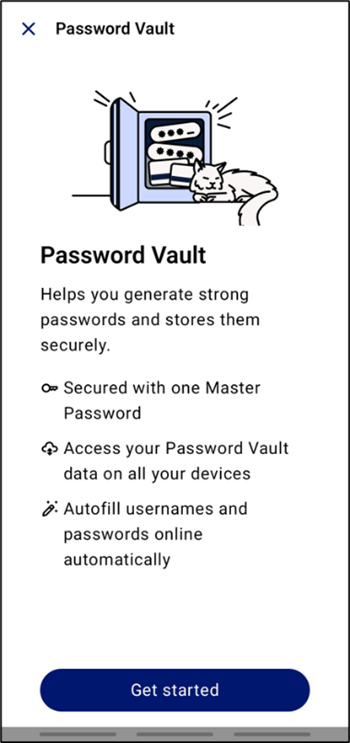
4.2 Password Vault
| | |
Step 1: Initiate Password Vault Go to ‘Password Vault’ Tap on ‘Get started’ Select ‘I’m a new user’ to start Set up master password
|
| | | |
    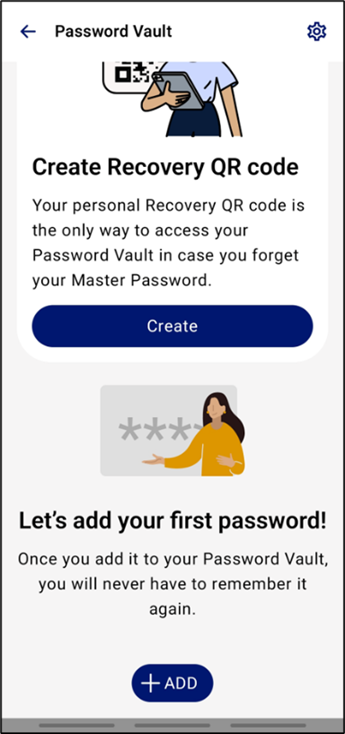 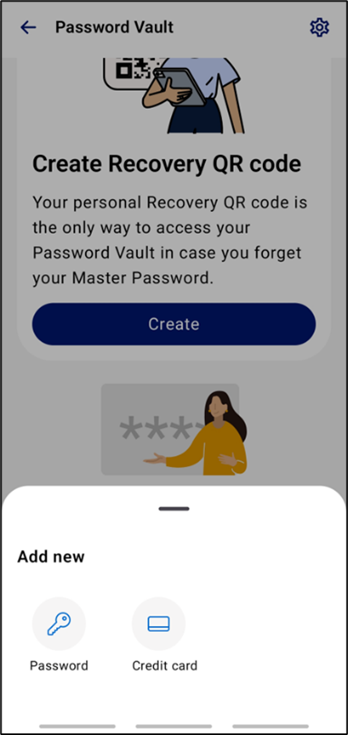  Step 2: Enable Password Vault Toggle ‘use biometric authentication to unlock’ Tap on ‘Add’ and ‘Password’ Save your password entry
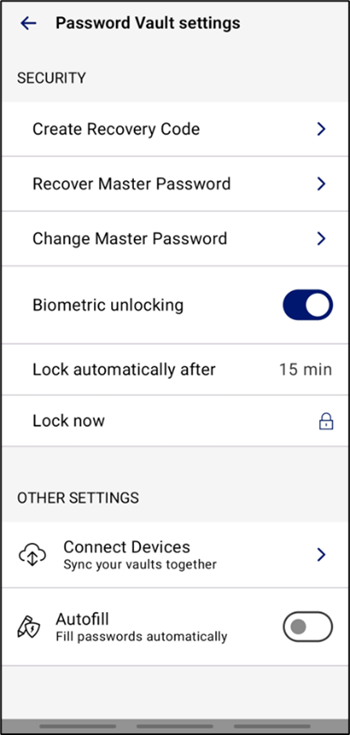
| Step 3: Create Recovery Code in Tap on ‘Settings’ button on top right Select ‘Create Recovery Code’ to save a backup Password Vault access QR code
|
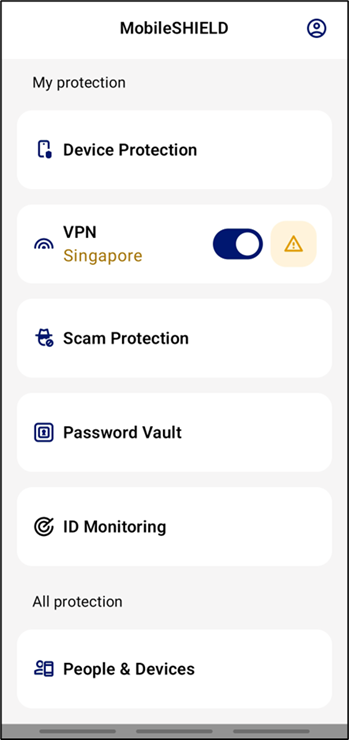
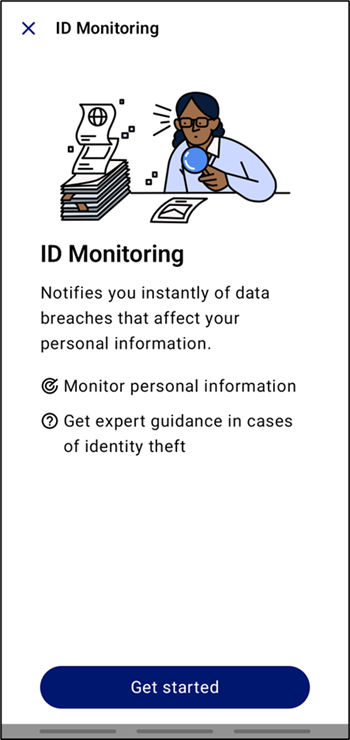
5. Identity Protection
5.1 Identity Monitoring
| | |
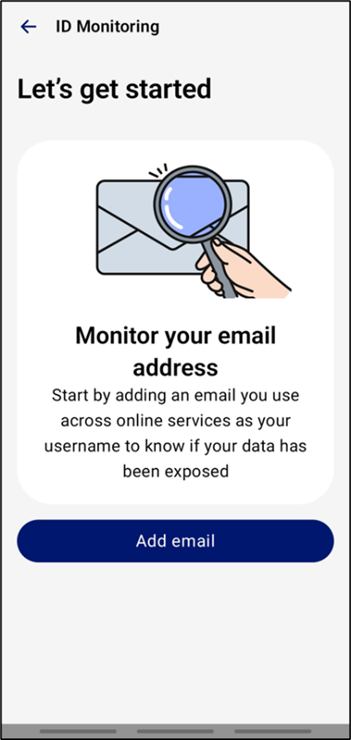
Step 1: Initiate ID Monitoring Go to ‘ID Monitoring’ Tap on ‘Get started’ Add email to start
|
| |
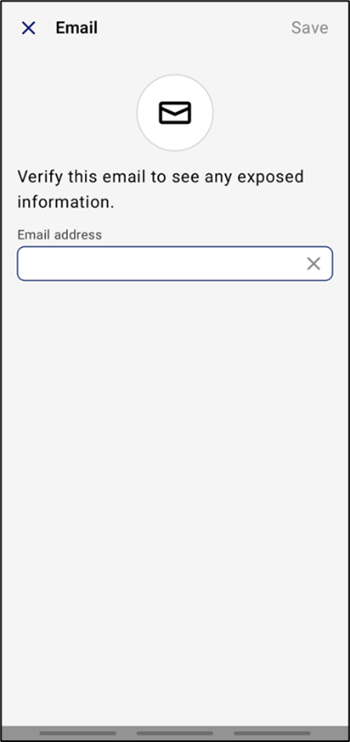
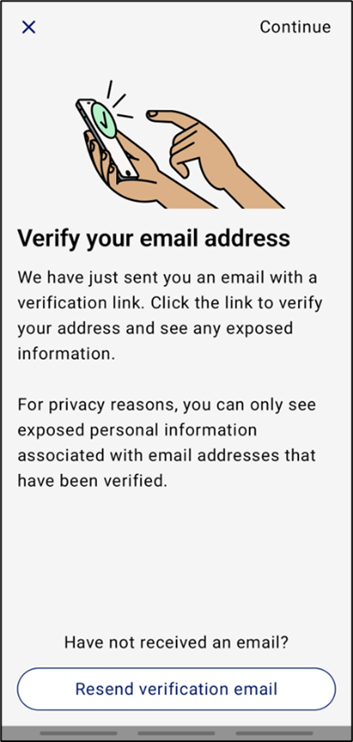
Step 2: Add and Verify Email (1/2) Input your email Verify your email address
|
| |
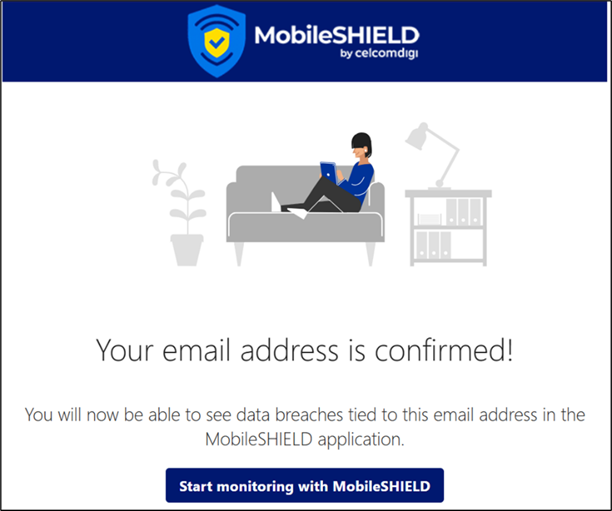
Step 2: Add and Verify Email (2/2) Check your email inbox from ‘MobileSHIELD’ with the title ‘Please confirm your email address’ Click ‘Confirm email address’ Select ‘Start monitoring with MobileSHIELD’ to return to MobileSHIELD app
|
| |
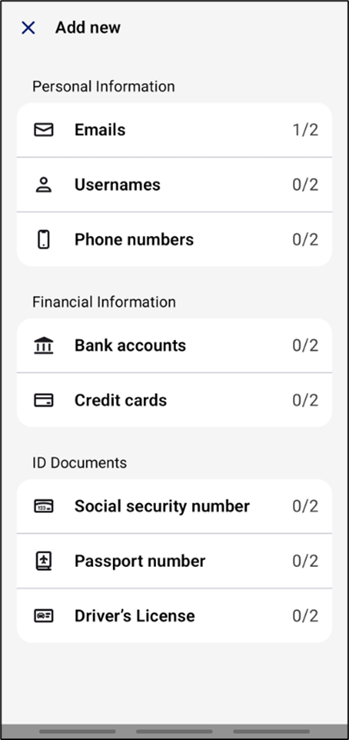
Step 3: Add Entry for Monitoring ID Monitoring is now active Tap ‘Add entry’ to monitor more personal information
|

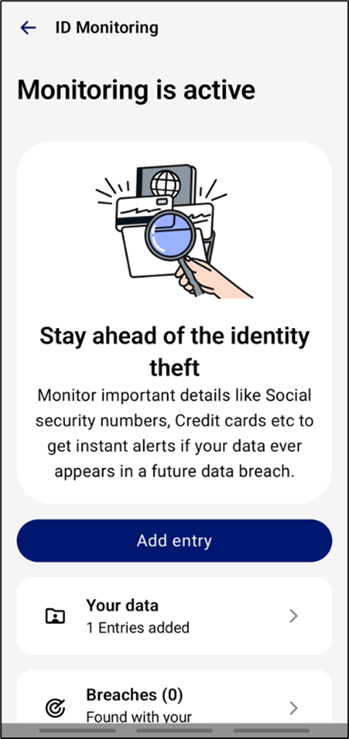
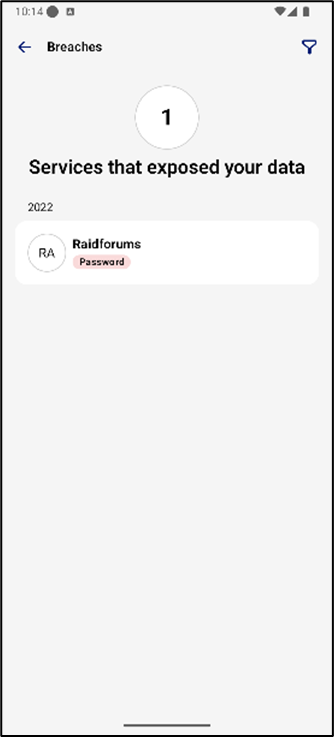
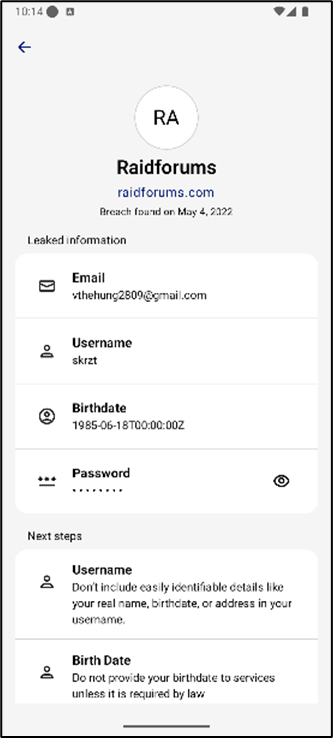
What ID Monitoring does to protect you:
| | |
Detects data breaches and recommend users to take mitigations |